

 Rated
Rated Installing A Garage Door Opener: DIY Tips
 Manual garage doors can be a real pain. A garage door opener can help you to maintain security and take advantage of convenience at the same time. There is a DIY approach that you can take, and some tips for success to follow. However, if at any time you don’t feel like you know what you’re doing, it’s best to call a garage door professional for help.
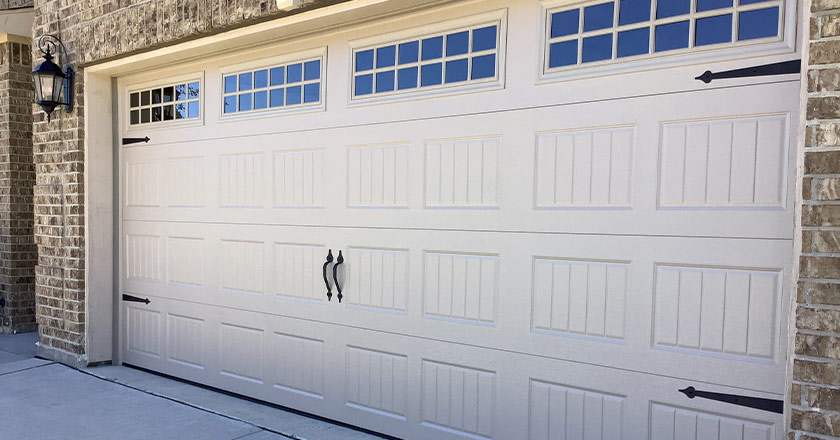
Finding the Right Garage Door Opener
You don’t want to purchase just any garage door opener. Instead, it’s best to consult a buying guide so you can learn more about the technology that is available.
The type of garage door you have is going to have an impact on the opener that you buy. You may also want to look for a unit that is low noise and has a battery backup so you can still open the garage automatically when you have a power failure.
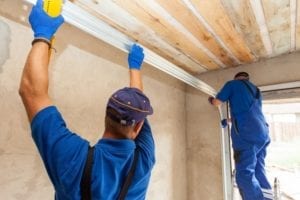
Installing a Garage Door Opener Yourself
Once you have chosen the opener, you will want to go ahead and install. Before you start, open the box and lay out all of the parts. The instruction manual will walk you through everything you need to do.
Get some liquid lubrication for your garage door, such as a can of WD-40. This will ensure that your door is able to move up and down with ease.
If for any reason your garage door doesn’t raise and lower by hand as it is right now, don’t install the opener. Instead, call a professional and have the garage door repaired first.
With a door working properly, you can then remove all pull cords or ropes connected to the garage door. By doing this, it will ensure that you and the various parts to the opener won’t get tangled. Do not remove the emergency release cord.
You will need a drill, tape measure, and a pencil for marking different areas on the wall and the garage door. It’s best to have a second person help you with lining things up and handing things to you. Once you are ready, follow these steps to successfully install the garage door opener:
– Put the main assembly together
– Install blocking on the ceiling
– Attach brackets
– Lean assembly on door
– Lift assembly into place
– Attach safety rope for emergency release
– Install any additional features
Scheduling a Garage Door Tune Up
You took care of the entire DIY garage door install. After a test, you confirm that everything is working properly. The next thing you want to do is schedule a professional tune up. This is important as it will ensure that the motor is tuned and can properly control the weight of your garage door. It’s a step that many DIY homeowners forget, and can lead to a faster motor burnout. Contact Action Garage Door Repair Specialists today to schedule an estimate.